How to Resize a Disk on KVM?
Sometimes there’s a need to resize a virtual disk in KVM. This might be required due to increased data volume or other reasons. In this article, we’ll show you how to do it.
First, make sure you have the necessary access rights to the server where KVM is running. To resize the disk, you’ll need to perform the following steps.
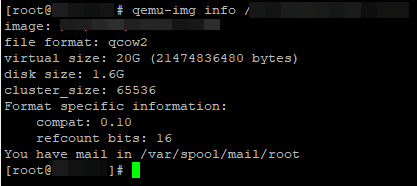
Step 1: Checking the Current Disk Size
The first step is to find out the current disk size. To do this, run the command:
lsblk
As a result, you will see a list of all disks and their sizes, including the one you want to resize.
Step 2: Stopping the Virtual Machine
Before resizing the disk, stop the virtual machine. To do this, run the command:
virsh shutdown your_virtual_machine_name
Wait some time for the virtual machine to completely stop.
Step 3: Resizing the Disk
Now you can resize the disk. To do this, perform the following steps:
1. Access the file system of the disk you want to expand.
2. Run the command resize2fs /dev/disk_name to resize the file system.
3. Then, execute the command virsh start your_virtual_machine_name to start the virtual machine again.
Congratulations, you have successfully resized the disk on KVM! Check the result with the command df -h.