How to Install WordPress on a VPS?
Welcome to the guide on installing WordPress on a Virtual Private Server (VPS hosting)!Installing WordPress on a VPS might seem like a complex task, but with our detailed instructions, you’ll be able to handle it easily and quickly.
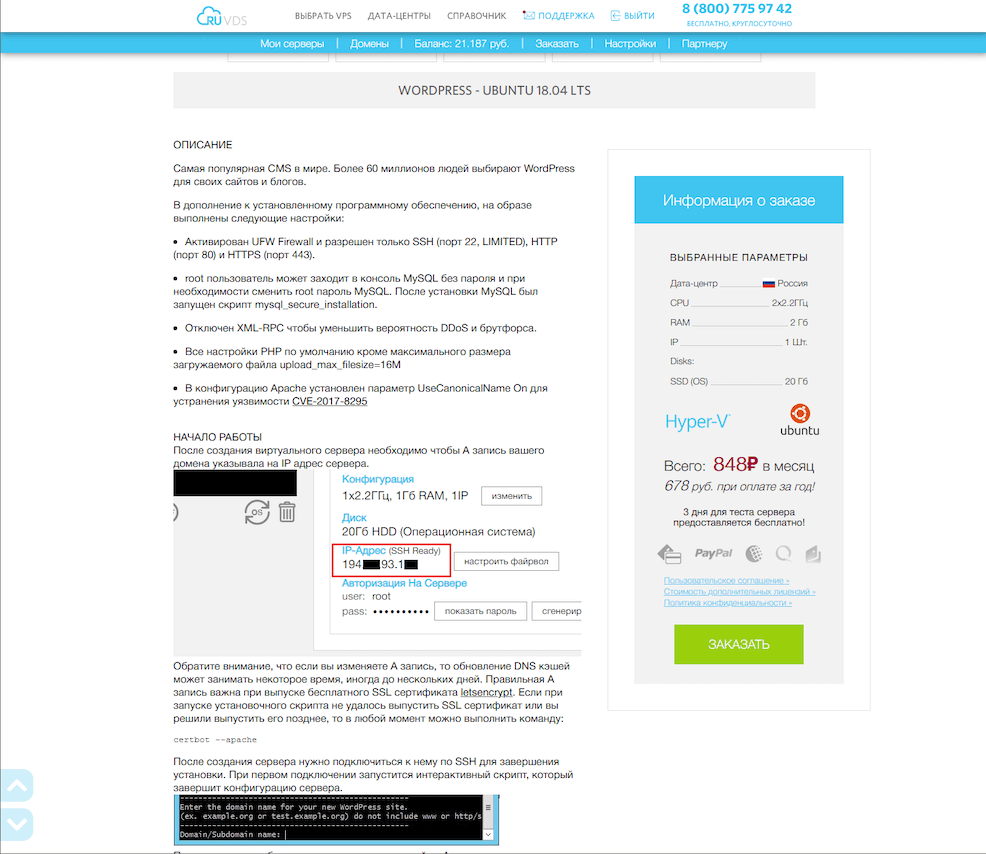
Step 1: Preparing the VPS
First of all, you’ll need access to your VPS via SSH (Secure Shell). Log in using your username and password.
Make sure your server is updated and all the necessary packages are installed. To do this, run the following commands:
sudo apt update
sudo apt upgrade
After updating the packages, install the necessary programs, such as Apache, MySQL, and PHP, using the following commands:
sudo apt install apache2
sudo apt install mysql-server
sudo apt install php
Step 2: Installing WordPress
Now, navigate to the directory where your WordPress site will be stored, and download the WordPress archive:
cd /var/www/html
wget https://ru.wordpress.org/latest.tar.gz
Unpack the archive and move the files to the root directory of your site:
tar -xzvf latest.tar.gz
sudo mv wordpress/* /var/www/html
sudo chown -R www-data:www-data /var/www/html
Configure the MySQL database for WordPress by creating a new user and database:
mysql -u root -p
CREATE DATABASE wordpress;
CREATE USER 'wordpressuser'@'localhost' IDENTIFIED BY 'password';
GRANT ALL PRIVILEGES ON wordpress.* TO 'wordpressuser'@'localhost';
FLUSH PRIVILEGES;
Step 3: Configuring WordPress
Now, open a web browser and navigate to your domain to complete the WordPress installation through the web interface.
Follow the instructions in the installation wizard, entering the necessary information, such as the site title, username, and administrator password.
Congratulations! You have successfully installed WordPress on your VPS. Now you can start creating and managing your site.
«`