How to Increase Disk Space in OpenVZ?
Server virtualization has become an integral part of many IT projects in the modern world. One of the most popular solutions for server virtualization is OpenVZ. OpenVZ provides a convenient and efficient solution for creating virtual environments with low overhead.
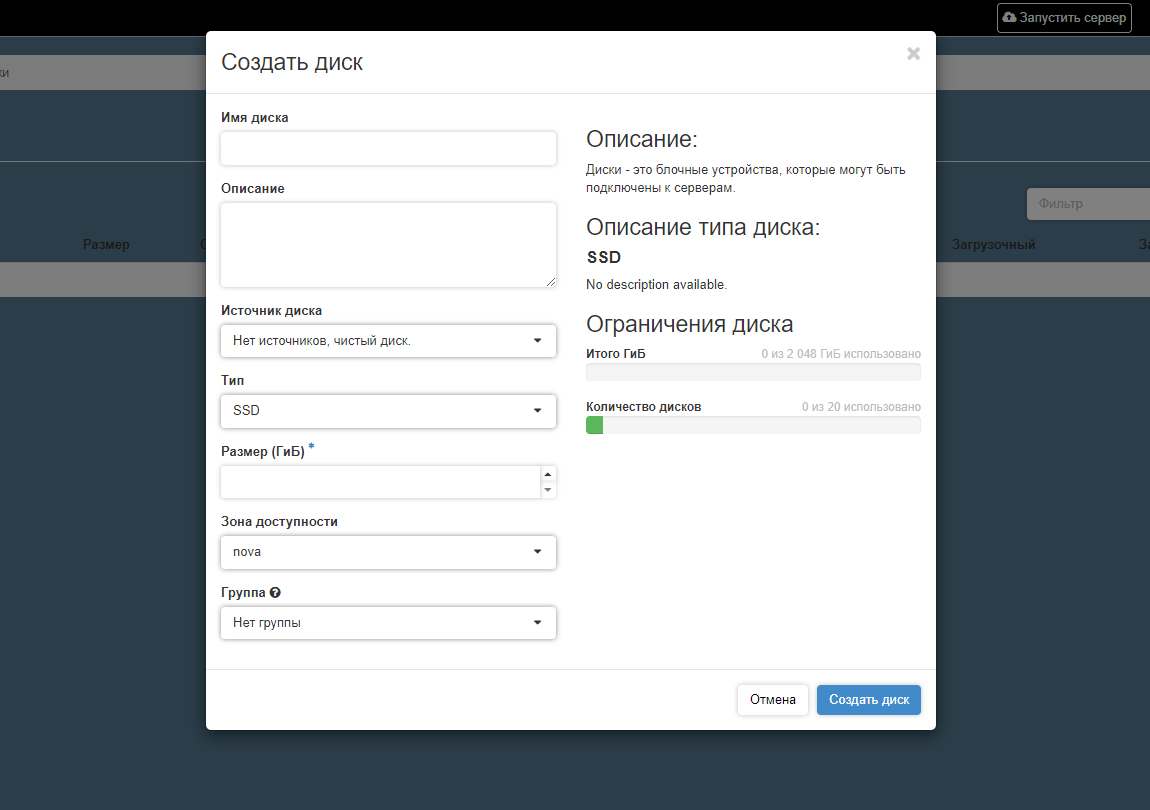
Often, the need arises to increase disk space in OpenVZ to be able to store more data or develop your projects. In this article, we will look at a simple and understandable way to increase disk space in OpenVZ.
Step 1: Preparation
Before increasing disk space in OpenVZ, make sure you have access to the server control panel and administrative privileges.
Also, before starting the disk increase process, it is recommended to back up all important data so that in case of unforeseen situations, you can quickly restore all system settings and files.
Step 2: Increasing the Disk
To increase the disk in OpenVZ, execute the following commands:
sudo vzctl stop <CTID>— stops the container before changing the disk.sudo vzctl set <CTID> --diskspace <new_size>:save --save— sets the new disk size and saves the settings.sudo vzctl start <CTID>— starts the container after changing the disk.
After executing the specified commands, the disk in your OpenVZ container will be increased to the specified size. Check the disk availability and make sure all data remains in place.
Conclusion
Increasing the disk in OpenVZ is a simple and quick operation that allows you to expand the capabilities of your virtual server. Follow our recommendations and increase the disk without unnecessary difficulties!


