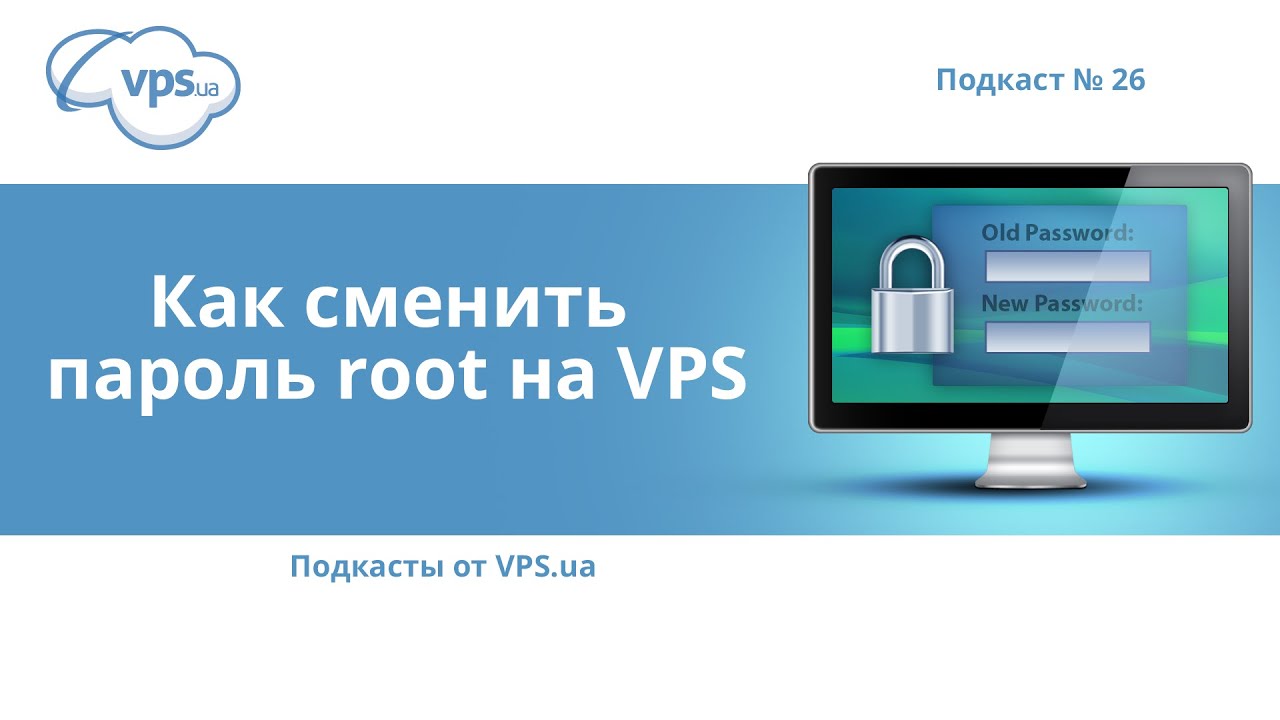
How to Change the Root Password on a VPS?
Changing the root password on your VPS hosting is an important procedure to ensure the security of your server. If you are using a virtual server to store data or run a website, it is important to periodically change the root password to protect the server from unauthorized access. In this article, we will tell you how to change the root password on a VPS.The first step is to log in to your server via SSH. To do this, you will need a program to connect to the server via SSH. Open a terminal and enter the following command:
ssh root@your_server_ip
Then, enter the current root password to log in. After successfully logging in, you can change the root password by following these steps.
To change the root password, enter the following command:
sudo passwd
After entering this command, the system will ask you to enter a new password. When entering a new password, the characters you type will not be displayed on the screen — this is a standard security measure. After entering the new password, the system will ask you to re-enter it for confirmation.
After successfully entering and confirming the new root password, the system will display a message that the password has been successfully changed. You can now use the new password to log in as the root user.
Remember that a secure password is a key element in protecting your server from unauthorized access. It is recommended to use strong passwords containing upper and lower case letters, numbers, and symbols. It is also important to periodically change the root password on your VPS to ensure increased security.
By following the instructions above, you can easily change the root password on your VPS and ensure the security of your server. Don’t forget to monitor the security of your server and change the root password regularly!