How to Add a User to a VPS?
Virtual Private Servers (VPS hosting) are a great solution for storing data and running web applications. However, to ensure the security and efficiency of the server, you may need to add new users. This article will cover how to add a user to a VPS.Step 1: Connecting to the Server
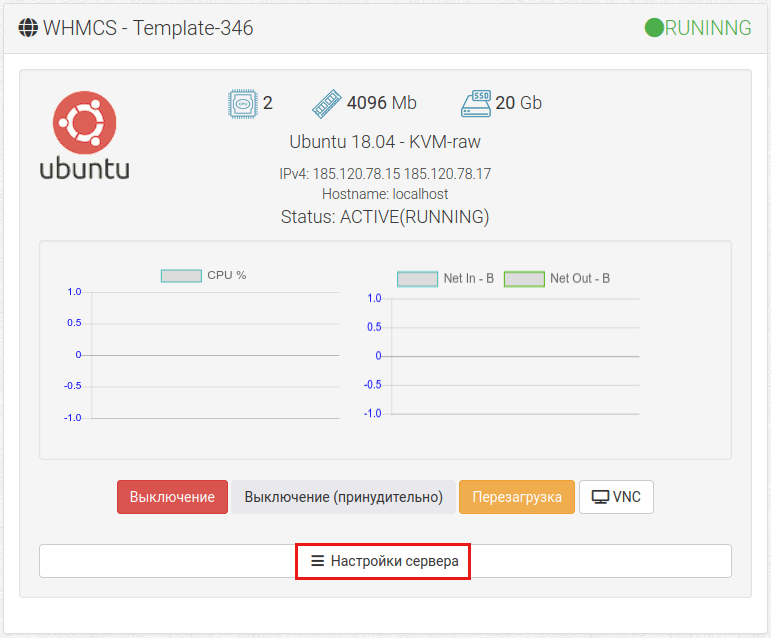
Before you begin the process of adding a new user, you need to connect to your VPS. To do this, use a remote access program, such as SSH or PuTTY.
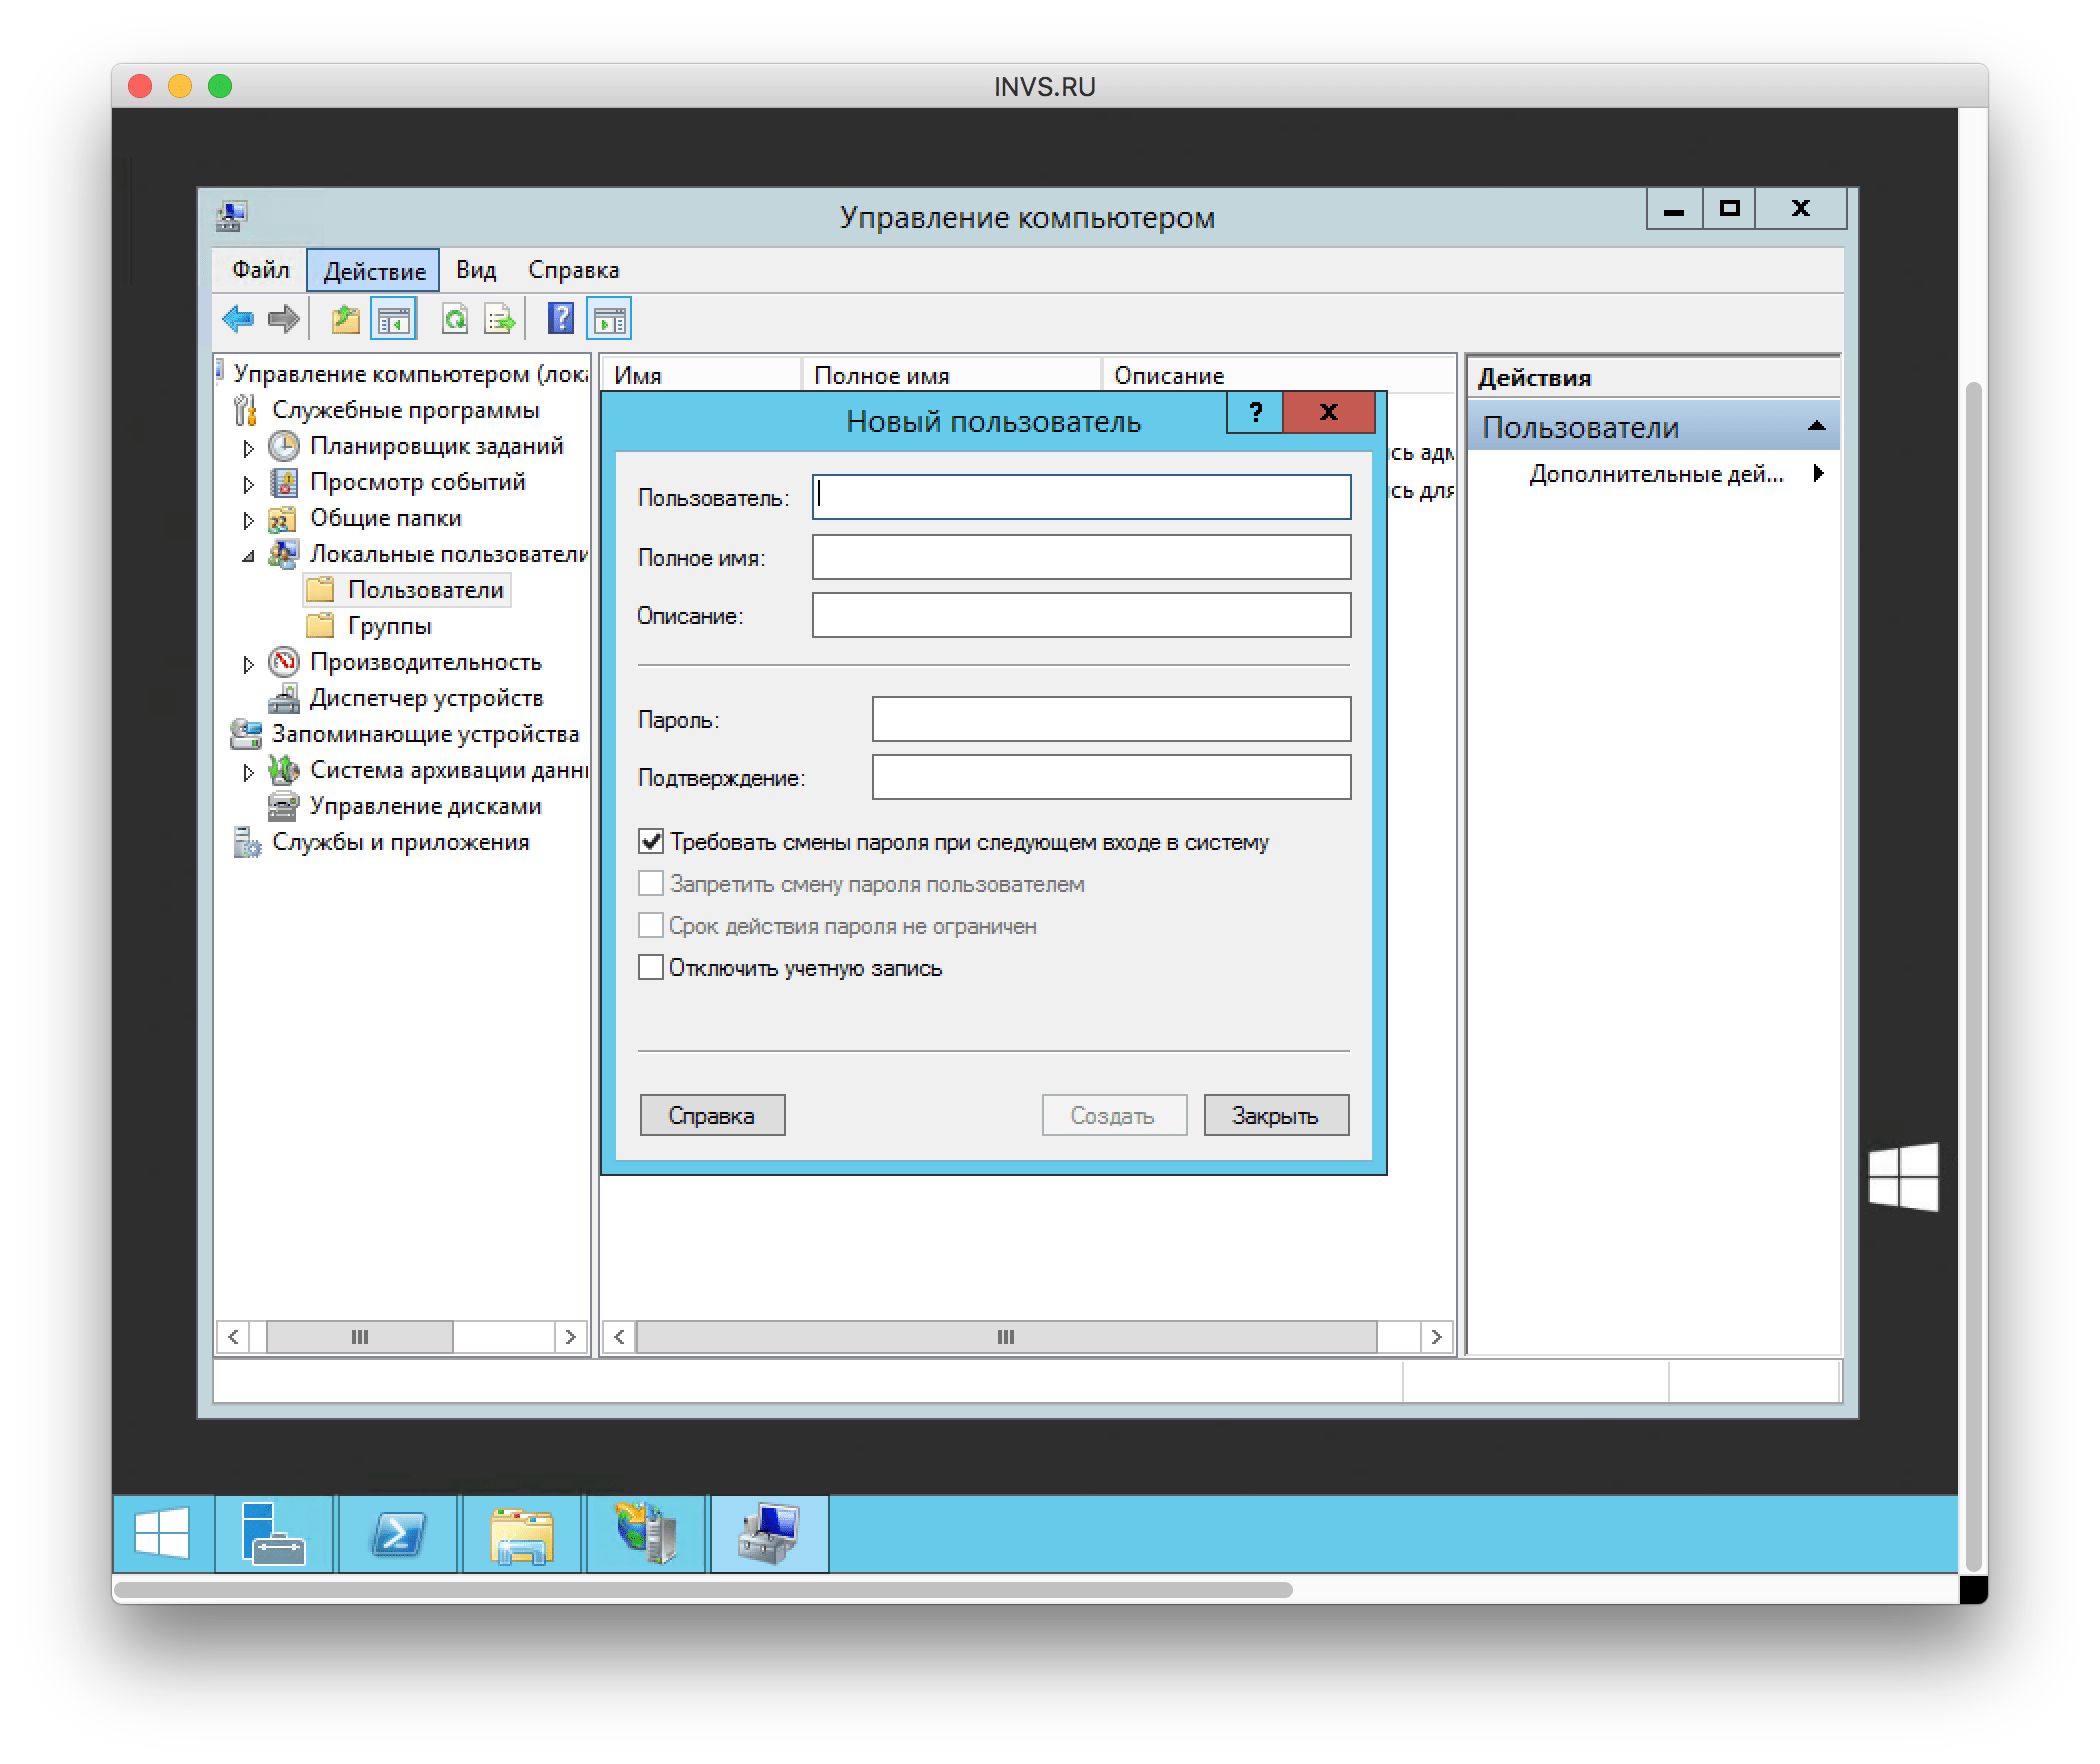
Step 2: Creating a New User
Next, create a new user using the command:
sudo adduser new_user
After executing this command, you will be prompted to specify a password for the new user and fill in additional information.
Step 3: Assigning User Privileges
In order for the new user to perform certain tasks on the server, you need to assign the appropriate privileges. To do this, add the user to the sudo group:
sudo usermod -aG sudo new_user
Step 4: Verifying Settings
After completing all the steps, make sure that the new user can successfully connect to the server and perform the necessary operations. Check that all rights are configured correctly and there are no errors.
Conclusion
Adding a user to a VPS is an important step to ensure the security and efficiency of your server. Follow these steps and you will have no problems creating a new user on your VPS.


